Step #1
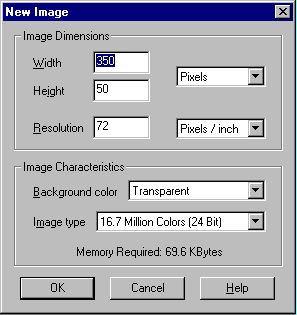
Select a new image (in this case 350x50). Under Image Character make sure Background color is select to Transparent and Image type is 16.7 Million Colors (24 bit), and select OK
Step #2
You should now have a new image box that looks like the on below;

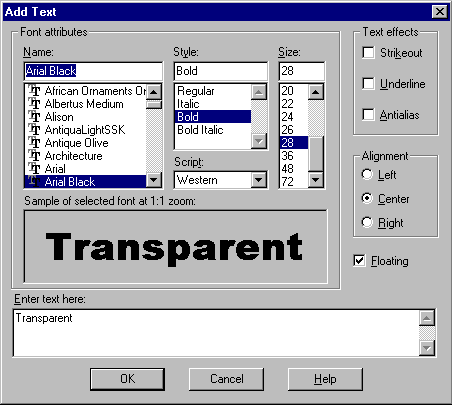
First from the Paint Palette choose the color you want your text to appear in (set the background color to white). Now select the text tool and pick the font of your choice, make sure Floating is checked and Antialias is not checked. Enter your text and select OK. Now that the text is entered in the image box we are ready to make the background transparent (Do not de-select the text).

Step #3
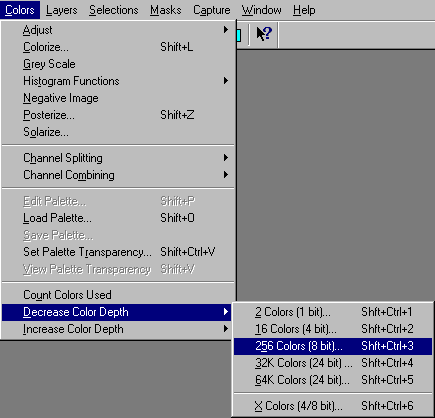
Now with the text still selected, from the Menu Bar select Colors, go down to decrease colors and click on 256
This will open a question box.

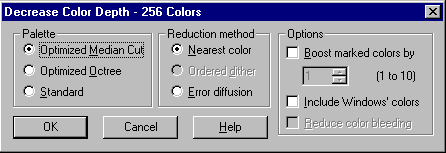
Answer this one with a "Yes", and the following with OK (leave all the settings as is).
Step #4
Again from the Menu Bar click on Colors and go down to Set Palette Transparency and select it. That will open an info box like the one below.
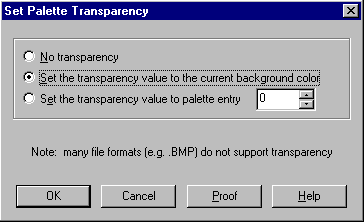
Now make sure it is set exactly the same as above. You will need to select the middle radio button that says "Set the transparency value to the current background color", and click OK.
Step #5
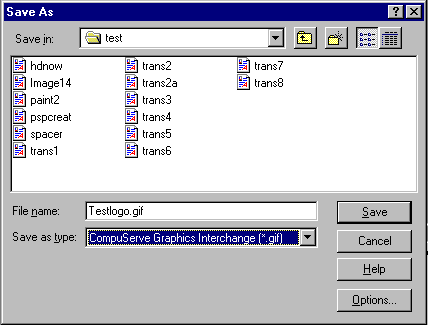
Now de-select the text and save it as a gif format and you are done.
