With the image we just finished creating still open, go to the tool palette and select the Selection Tool. Set the Selection Type to Rectangle, Feather=0 Antialias unchecked.
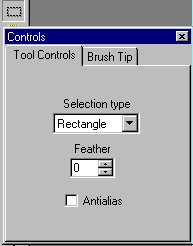
Set the tool marker (cursor) at the following position 30,0 (look to lower left of status bar) and drag it while holding the left mouse button to 190,100. Do not deselect
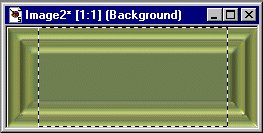
Go to the Menu Bar select Edit, then Copy.
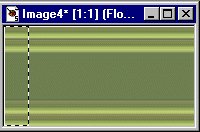
Go back to the Menu Bar and again select Edit but this time click on Paste and then paste As New Image. You image should now look like the one below.
Step #2
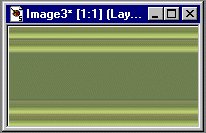
Now comes the fun part. Because we basically cut off the two ends of the original image, should we try and use it now for our topborder we would end up with a small space between each section where it repeats.
Go to the Tool Palette and again select the Selection Tool (leave the settings as they are). Place the tool marker at 20,0 and drag it to 30,100.
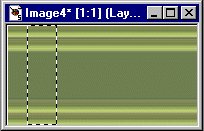
Now from the Menu Bar select Edit and Copy (just like before). Back to the Menu Bar and click on Edit, Paste only this time you want to select As New Section. At this point the dotted line will disappear and you should see a four sided arrow. You can now move the new section where ever you need it. In this case we will move it to the left side and let it move off the image area slightly (make sure that you keep the beveled sections lined up).
Repeat the same procedure above except place the new section to the right hand side.
Step #3
Don't give up we are almost done. We now need to make this fit our page properly.
First be sure that you have the proper color you want you page in set in the color palette.
From the Menu Bar select Image Add Borders (you will get a message box stating about multi-layers say yes).
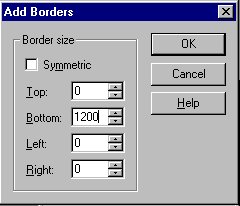
Make sure that Symmetric is not checked set Top=0, Bottom=1200, Left=0, Right=0. The setting for the bottom can be what ever you need just don't make it to short or you will need to go back and edit it. Select OK and you should now have the following.

At this point we have a completed image that will give you a nice looking top border. One thing you will need to do is create a transparent spacer (click here to see tutorial) if you don't already have one. You will need to have that as your first statement so that your text or images are below the top border. It needs to have the height command about 10 pixels more then the border and the width can be 1-5 pixels.
If you want to add a nice drop shadow to you border go to the next page.
