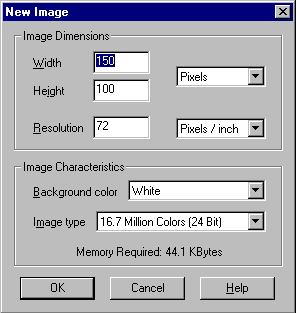
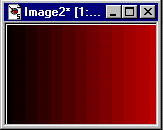
From either the Menu Bar or the Tool Bar select a new Image, setting the size at 150x100. Background Color=White and 16.7 Million Colors.
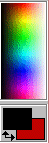
Select from the Paint Palette the color or colors you want your border to be (I selected a basic Black and a Dark Red).
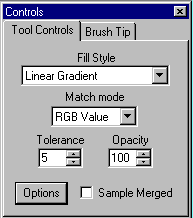
Now from the tool Palette select the Paint Bucket  . From the Control Palette set it to Linear Gradient (this is only needed if you are using 2 colors). It should look like the figure below.
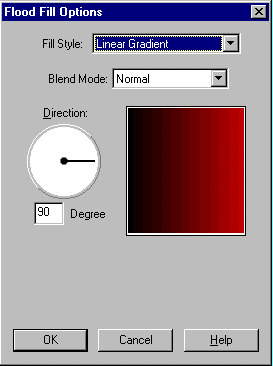
Now click on the Option Button and set it for 90 degrees.
Place the paint Bucket in the Image window and click once. This should fill the image with the color and option you selected.
Step #2
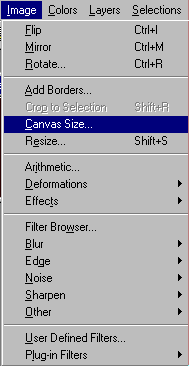
You need to go back to the Paint Palette and change the background color (mine is red) to white or what ever color you might want your main body of the page to be. With that done go up to the Menu Bar and select Image come down to Canvas Size.
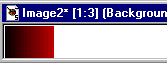
Set the width to 1600 this should prevent any repeating of the border on 17" monitors and the height needs to be at what ever size you set your original image, in this case 100. Set the Image Placement the same as below. Say OK.
Step #3
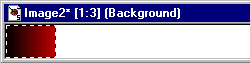
You should now be looking at a minature web page.
You can stop at this point and save the image to your web page directory, or you can go on and we will add a little shadow effect to the border. From the Tool Palette select the Magic Wand and click inside the main area (not on the colored border).
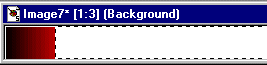
Go to the Menu Bar and Selections, drop down to Invert and select it.
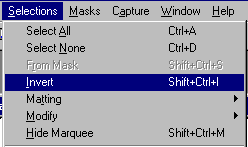
Now the colored border should be the selected area. It should have a moving dotted line around it.
Step #4
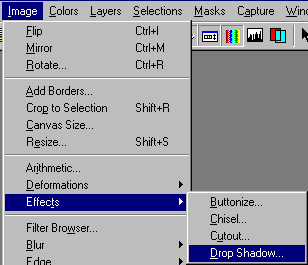
We are almost done. lets add the drop shadow now. From the Menu Bar go to Image, Effect, Drop Shadow.
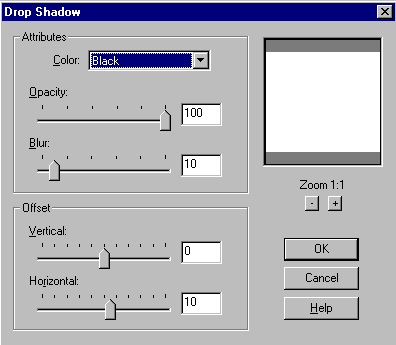
Now we need to set the shadow properties. Color=Black, Opacity=100, Blur=10, Vertical=0 Horizontal=10 select OK.
Step #5
This is the final step I promise. Withe the drop shadow applied all seems ok. The problem is PSP 5 has a problem in that the drop shadow will have a gap in it when the border is setup. So now we will fix it. If the border is still selected go to the Selection on the Menu Bar and say Select None.
Now on the Tool Palette select the Zoom Tool  . Place it on the border and click a few time to enlarge the image (I did it 3 times)so we can work on the shadow.
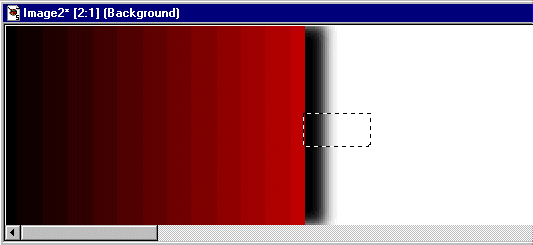
On the Tool Palette select the Selection Tool place it so the grid reads 150x40 (actually the second number is not important, but the 150 is). Remember the grid numbers are in the lower right corner. Now while holding the mouse button down drag it to the right and down a small amount, making sure it is all the way into the main body area. (See Below)
Now go to the Menu Bar and select Edit,Copy. Back to Menu Bar and Edit, Paste, As New Section. The area you just select should now be floating. Place the mouse cursor on the section and move it down to the bottom and just slightly below the bottom of the image so it fills the gap (make sure it is lined up). Release the mouse and right click anywhere in the image window to set the section. Now repeat the same procedure for the top gap (this isn't that critical as it is at the top of the page and will not repeat it is just personal preference).
With that done take the Zoom Tool and right click on the enlarged image the same amount of time you did to enlarge it. Normal the scroll bar on the bottom will disappear once it is back to the original size.
That is it you now have a left hand border ready to be used in you web page. Save it to the directory that contains all of your web page images.
Go to Border Formatting Page.